For many of us, taking travel photos is the first introduction to the wondrous world of photography. But how do you end up with a decent holiday picture without having to take extensive classes? This crash course in travel photography gives you ten simple tips for improving your pictures. And you don’t even need to get an expensive camera or have any technical knowhow at all to make them work. Ain’t that sweet?
‘Holy Mary, Mother of God! Such glorious travel photos! Could you quickly teach me how to make some as well?’ If I was handed five dollars every time someone asked me that question, I’d now be exactly ten bucks richer. Time to make a crash course in travel photography and put it online then, I thought. Let me answer that question first though: no man, I can’t just ‘quickly teach you’ how to do anything. There’s no magic wand to teach someone all the tricks of the trade in a couple of hours – any course promising anything close to that should go straight in the trash. Taking pictures on a professional level takes decent education, lots of practice, the right equipment and of course some sweet sweet natural talent.
“There’s no magic wand to teach someone how to make professional travel photos in a couple of hours. But there’s always room for improvement if you’re willing to learn.”
I took a three year evening course at Syntra myself. ‘Evening course’ is what you should remember here. Because before I fully started pursuing my creative passions, I made damn sure I had a decent degree first. You can never know how good you’ll get at something before you try and do it, and an official photography diploma is worthless when your actual pictures are dull, uninspired crap. You won’t pay your bills with participation trophies, so git gud.
Taking better travel photos: 10 winners for beginners
So alas: there’s no one stop shop to suddenly turn yourself into Steve McCurry – if there was, I would have known about it by now. What I can offer you though, are some absolute basic tips to improve your current travel photos immediately. And what’s fun about these tips, is that you don’t have to have any technical knowledge of your camera to make them work. I’ll exclusively be talking on how to compose your image, how to work with people and what you should look for when taking shots. We’ll talk about how cameras and lenses determine the look of your photos in a later article. Let’s stick to the basics for now. You’re not going to start reading a Kafka novel in kindergarten either. So let’s get on with it: get seated, take some notes, and you might become the teacher’s pet.
1. Ask people for a photo before you take it
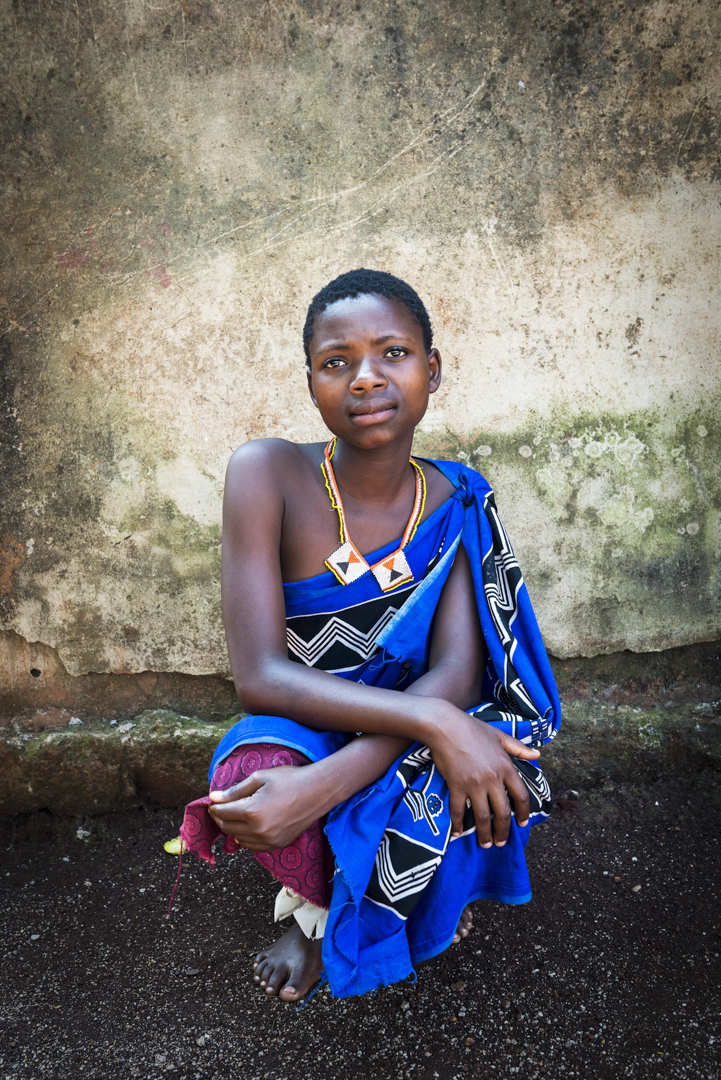
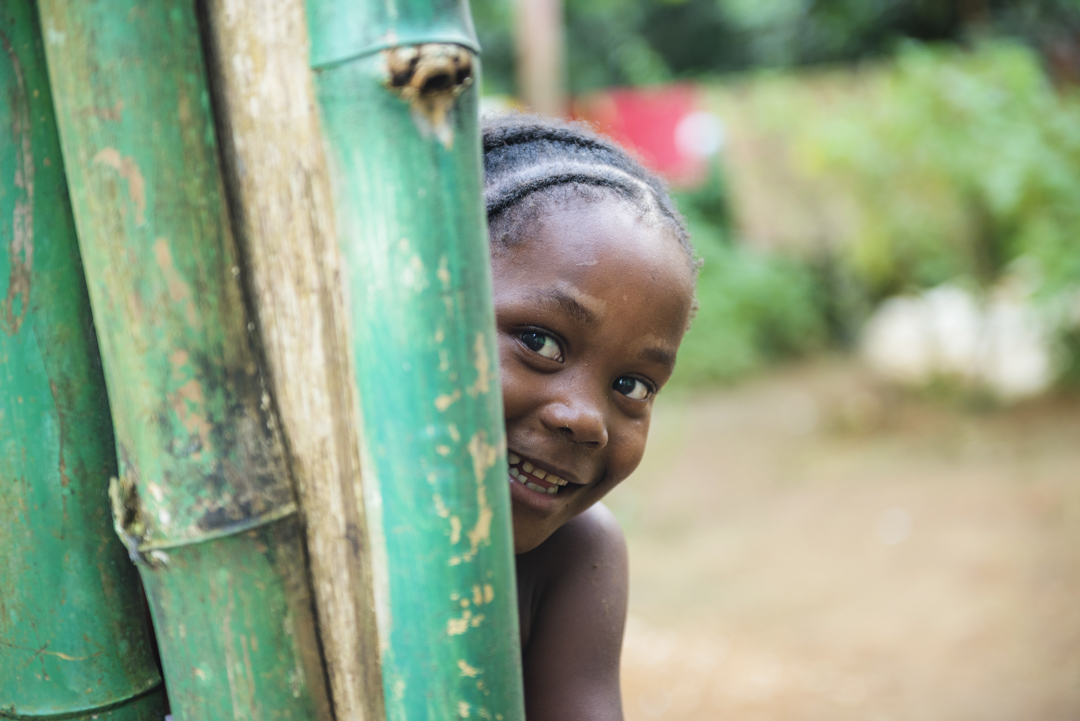
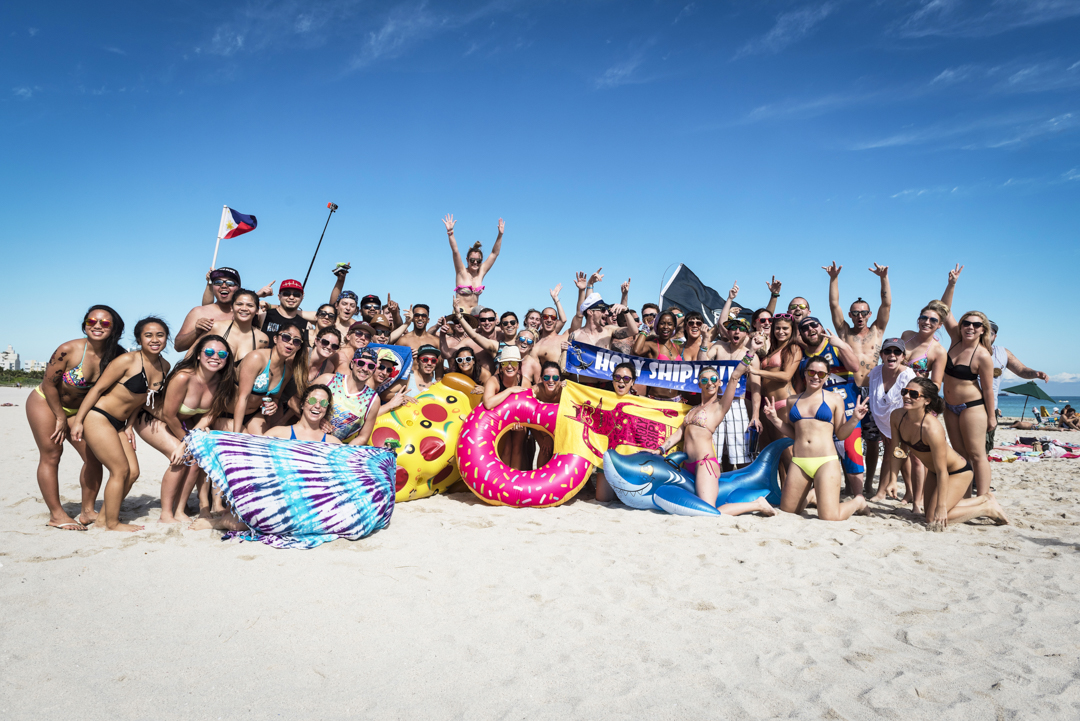
Imagine walking through an exotic and enticingly photogenic piece of faraway land. Take a quick look around. Notice any cages, moats or students dressed up as pandas? If not, this is because you are in fact not in a zoo. So if you want to take pictures of someone, you’ll have to ask them first. This is not just polite, it has some advantages as well. 1. You won’t look like the next boorish tourist and might actually start an interesting conversation. 2. People who want to be on your picture, will put in more of an effort to actually look good in it as well.
“Imagine walking through an exotic and enticingly photogenic piece of faraway land. Take a quick look around. Notice any cages, moats or students dressed up as pandas? If not, this is because you are in fact not in a zoo. So if you want to take pictures of someone, you’ll have to ask them first.”
Does this mean you’re never allowed to take a candid pic of something happening right in front of you? Of course not, but generally portraits get better when there is some contact between you and the subject. Look at the travel photos above and ask yourself how the little girl would look if I had shoved a camera into her face without asking. The Miami Beach group photo could not even have been made without asking first. So stop taking ugly snapshots and start working on those social skills people. Don’t be a dick: ask for that pic.
2. Try and get your subject to look natural
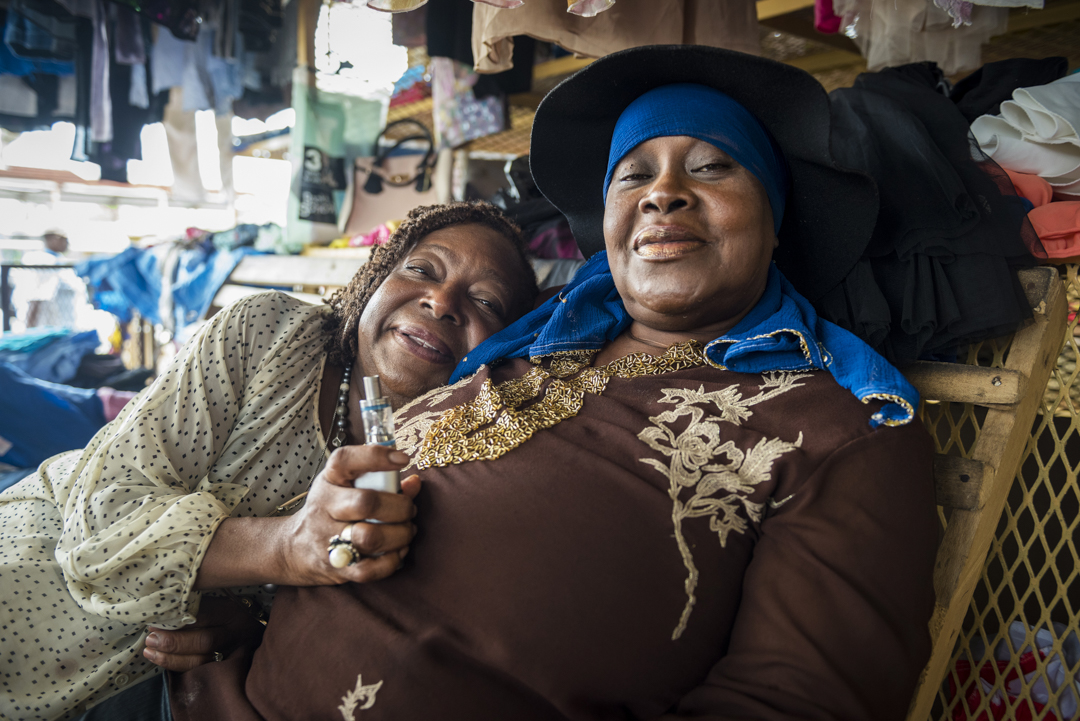
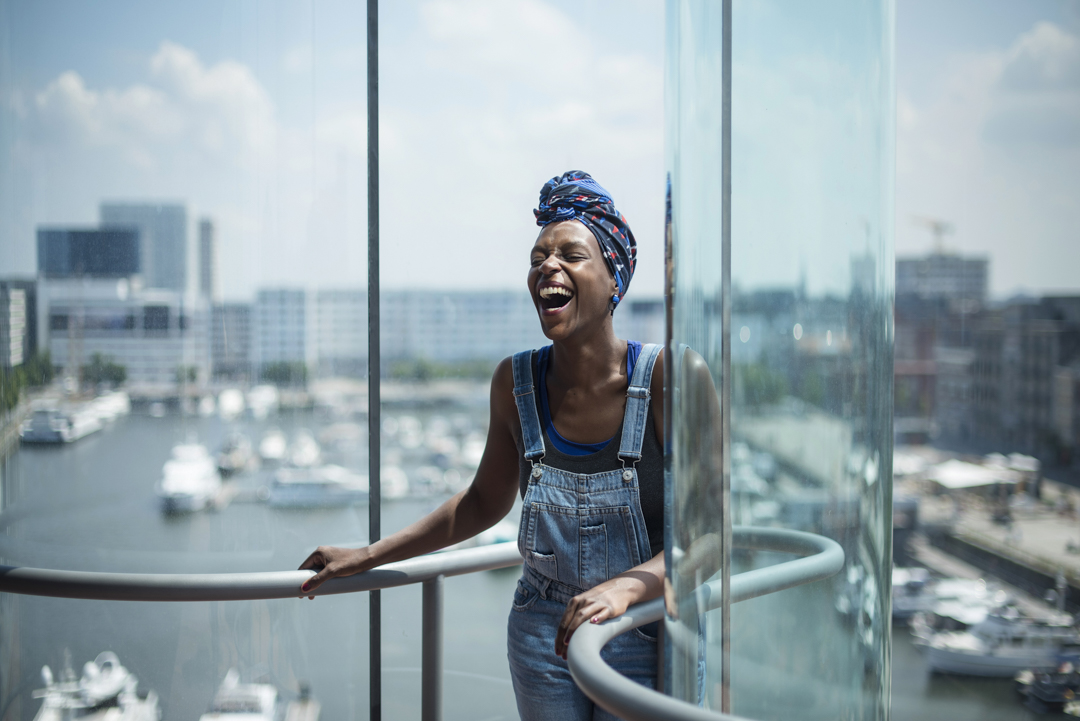
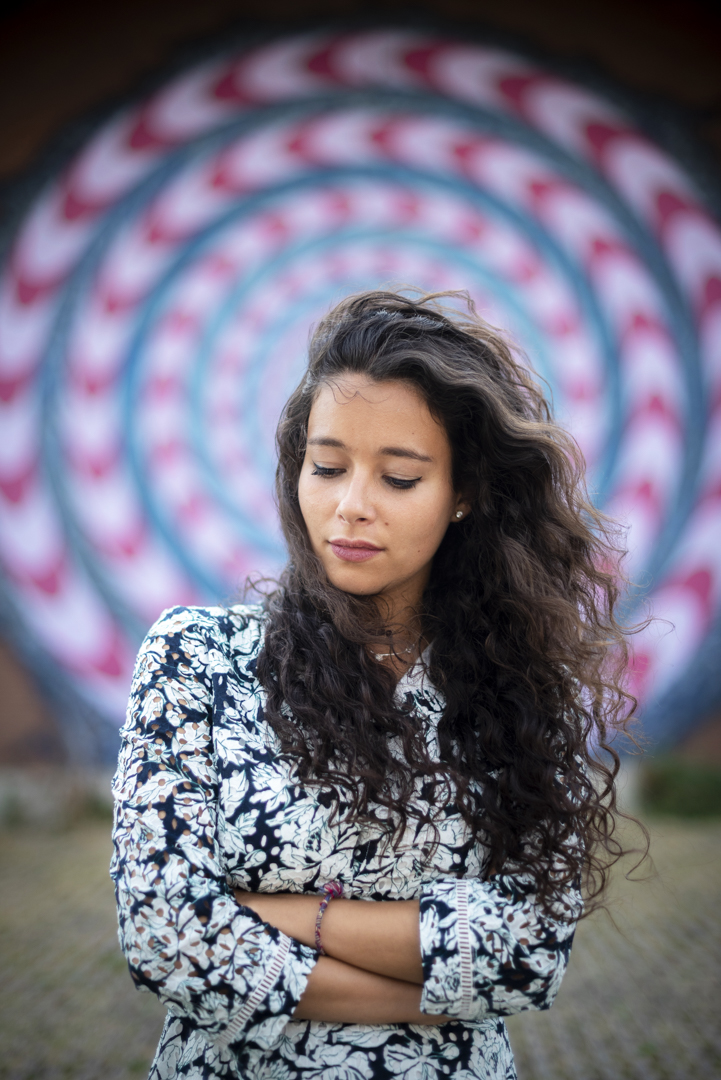
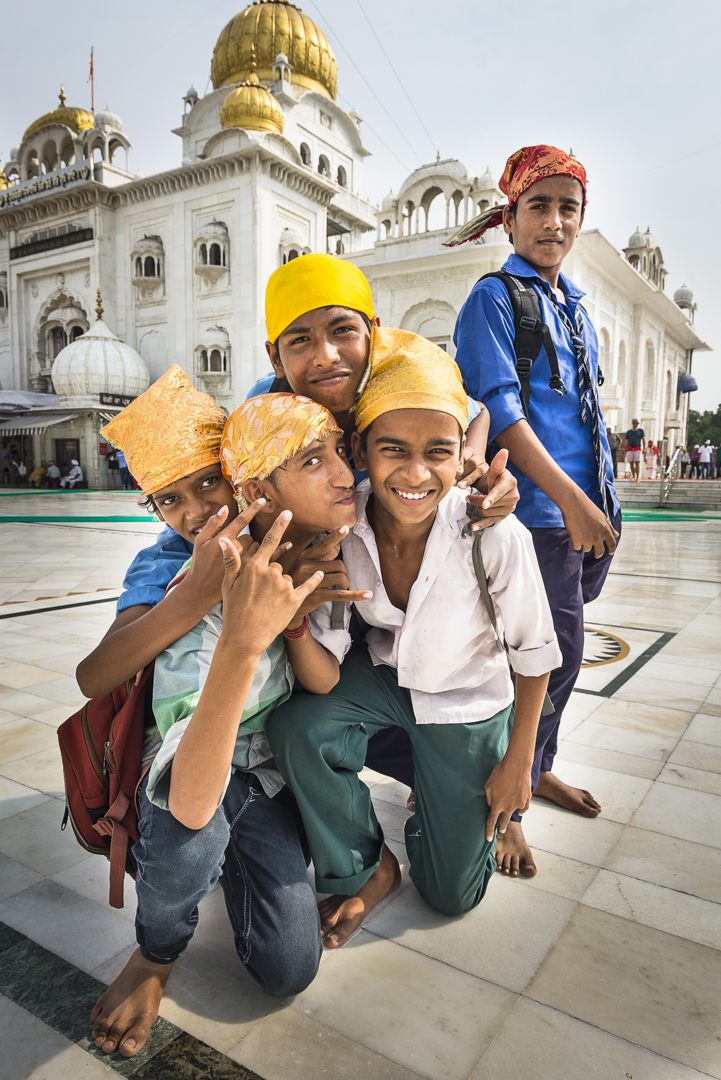
Found your courage and asked someone to pose? Congrats you animal you! But how to make a natural looking portrait? This varies from person to person. Some people – like the Indian kids above – are natural extroverts and only need some encouragement. Lines like ‘Come on guys, like you mean it this time!’ should do the trick no problem. Others need more convincing, or will even block completely as soon as a camera pops up. These people are suffering from Chandler Bing Syndrome. My favourite way to deal with them is to take everything very professional at first: ‘Shoulders back, chin up! Look at me please!’, to then, when they’re stressing out and cramping up, say something completely ridiculous to make them laugh before I press the button. A less tricky way to deal with this is to make them focus on a spot above or beside you. This will make for nice, dreamy portraits in many cases.
3. Use the rule of thirds
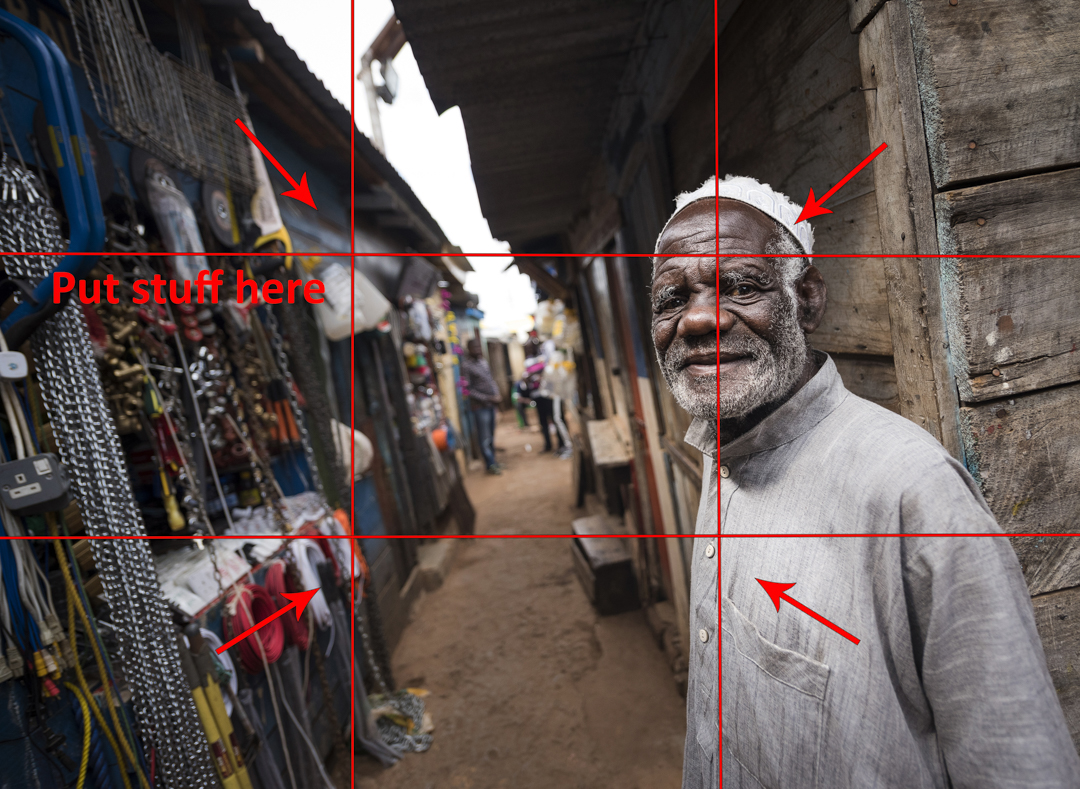
A good model doesn’t automatically make for good travel photos. You’ll have to step up as a photographer, because the result will depend mostly on what you’re doing with the image. How’s your composition? Where do you put the subject in your frame to get the best result? Luckily there’s a very simple aid for this, one that comes back in almost every visual art form: the well-known rule of thirds. Look at your picture and divide it into three equal parts both vertically and horizontally. These are your power lines. The subject of your photo – which is whatever you want to draw attention to – should be on one of the four spots where the lines touch. As far as portraits go, this usually means the eyes of your subject. The rule of thirds works for landscapes as well. For example: it’s often better to put your horizon on one of the horizontal power lines instead of the middle of your frame. This is by no means an unbreakable law though. Some pictures actually get more striking by putting the model in the absolute centre of the frame, going for perfect symmetry. But as with doing your taxes, you need to know the rules before you can start bending them.
4. Use depth to emphasize your subject
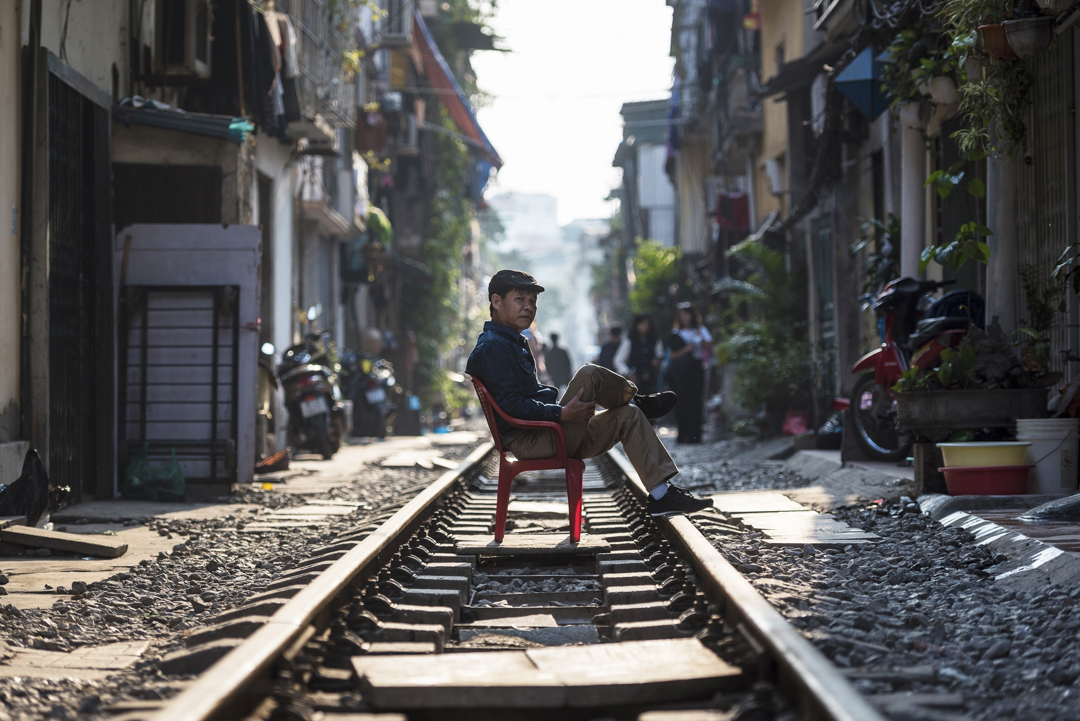
Some photographers leave too much focus or distraction in the background of a portrait for no clear reason. This takes attention away from the subject in many cases, which makes for unbalanced images that make me nervous. There are a couple of ways to counter this. Using a lens with a shallow depth of field for example – I mostly use my faithful 50mm f1.4 for portraits – which makes the entire background go blurry automatically. If you don’t have a lens like this or – may your children forgive you – you’re taking travel photos with your phone, you better make sure there’s lots of open space behind the subject. This makes the background both blurrier and calmer, simply because it’s further away and thus out of focus. Any telephoto lens will enhance this effect. No open space available? Put your model in front of a nice wall – preferably a colourful one – or find natural frames in your fore- or background to lead the eye. Nobody ever got killed by getting a little creative. Well yes: dear Uncle Joe, but he already had a nasty cough.
5. Taking good travel photos is using both your fore- and background
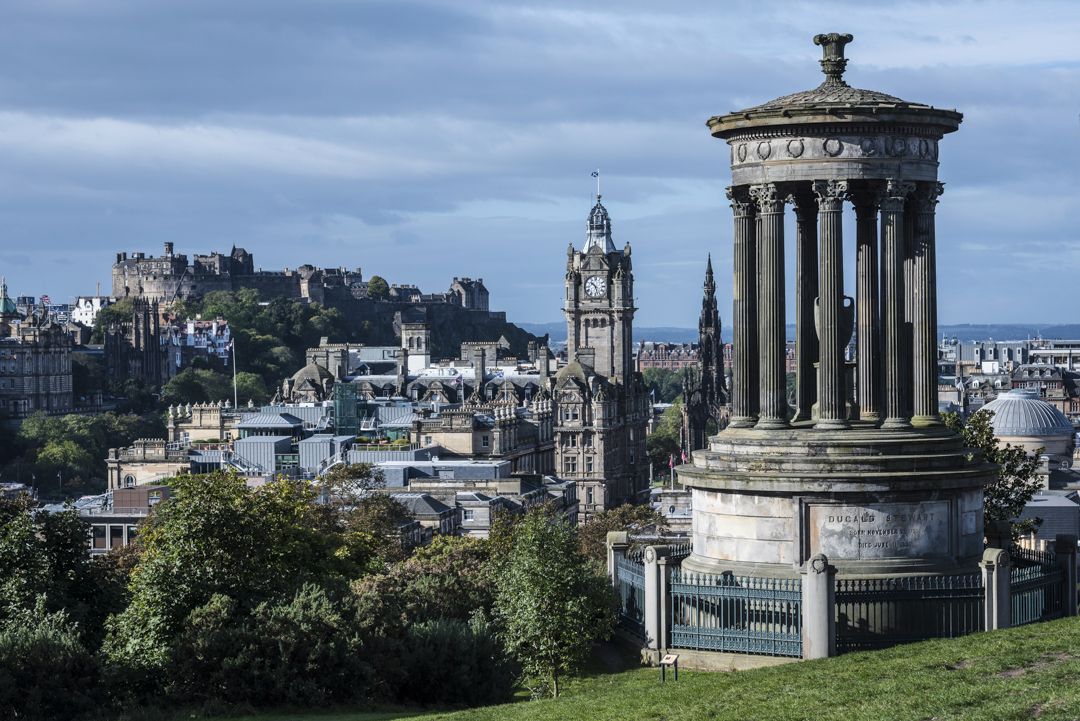
One of the main problems both photographers and painters face, is having to convey the three dimensions of our daily reality – four for time travellers, five for LSD-lovers – onto the two-dimensional plane of your picture or painting in a convincing way. This is why you need to make use of any tricks to strengthen this three dimensional illusion. Playing with lines in your image is one solution (look at the railway tracks on the picture of the previous entry for example), as well as creating as much depth as possible. Landscape photography especially benefits from keeping both your fore- and background interesting. Don’t just make a random picture of the view, but pay attention to the natural frames in your foreground, and make sure there’s something drawing attention to the background as well. This causes the eyes of the viewer to wander through the entire scene. Gotta take them eyes for a walk, bro.
6. Improve your landscape photography by adding people
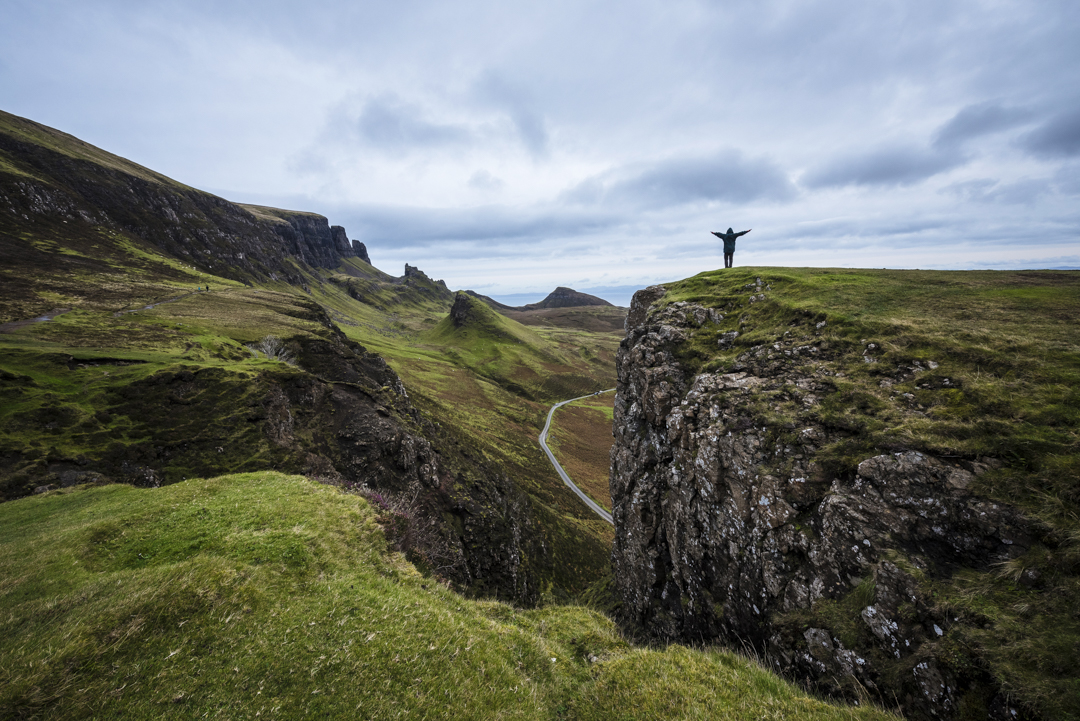
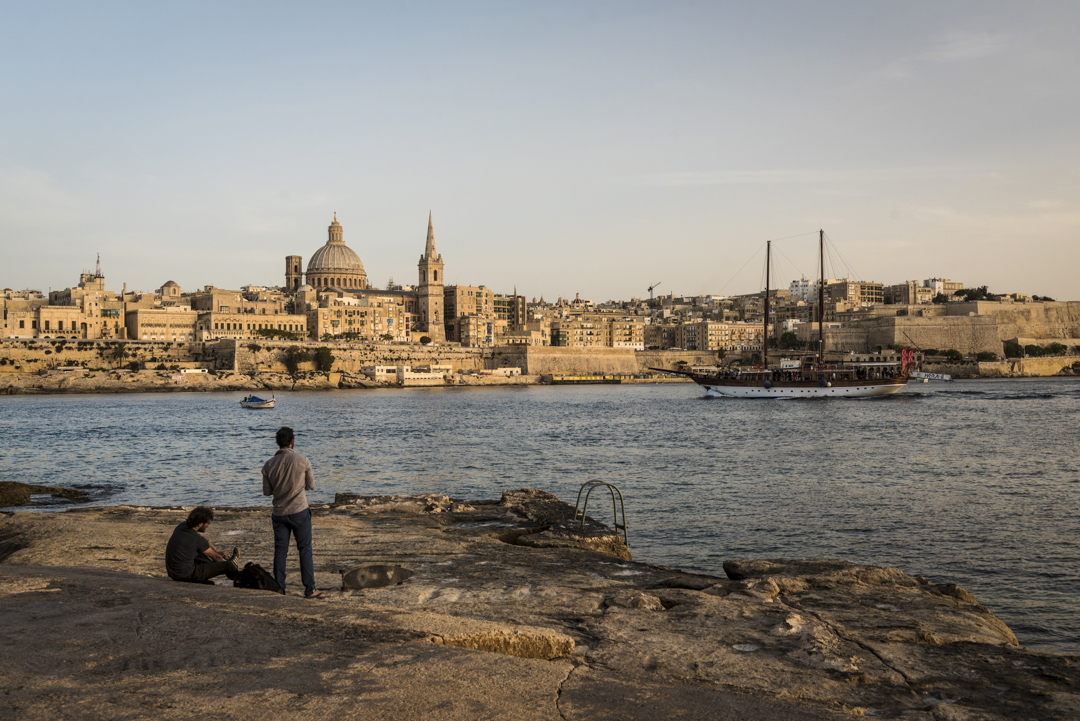
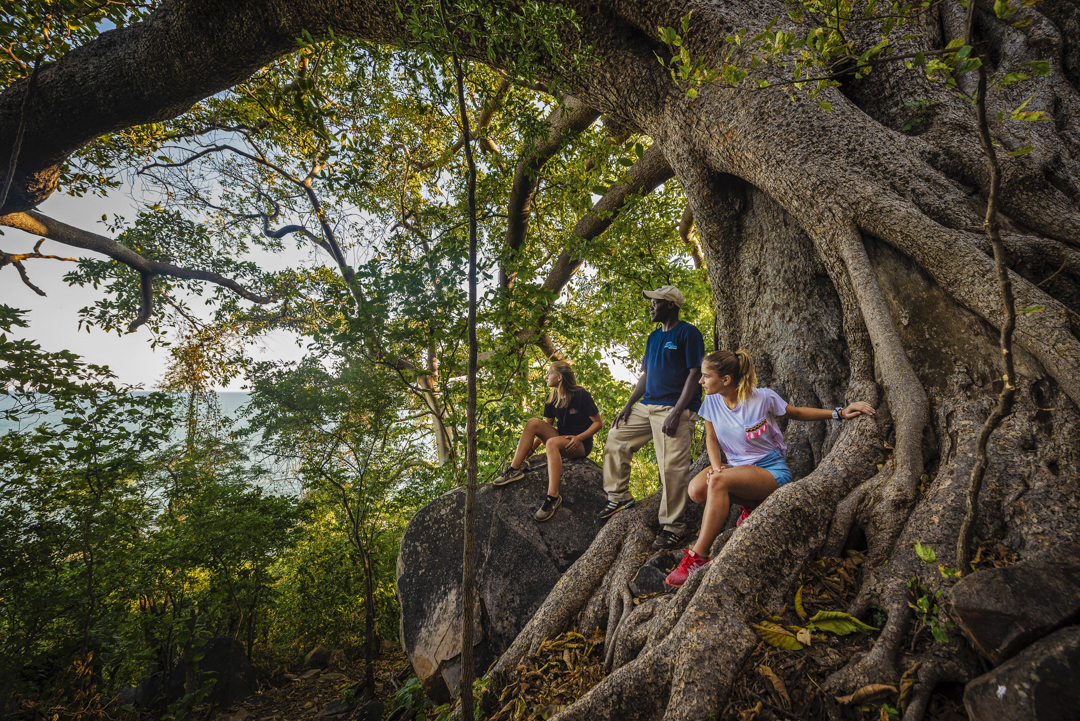
It happens to the best of us: you find yourself at an exceptionally impressive spot and think: ‘God be damned, I’m gonna take the most awesome picture imaginable’. Back home, you quickly discover that none of that overwhelming feeling you had on the spot, made it onto your photo. There are several explanations for this. 1. Your travel photo is ass and you should feel ashamed of yourself. 2. Your pic is decent, but viewers don’t have a clue about how big, deep, tall or vast something is because there’s no point of reference for them to identify with. To get past this, you need to start putting people in your landscapes. Want to capture the endless emptiness of the Sahara Desert? Don’t just take a picture of some empty dunes, but put a tiny human or some camels on them to show how pitifully small they are compared to the scenery. This trick works even better when the subject is looking at the view as well. This will make anyone looking at your picture identify with the person on it, leading their eyes over the entire scene yet again.
7. Watch your light
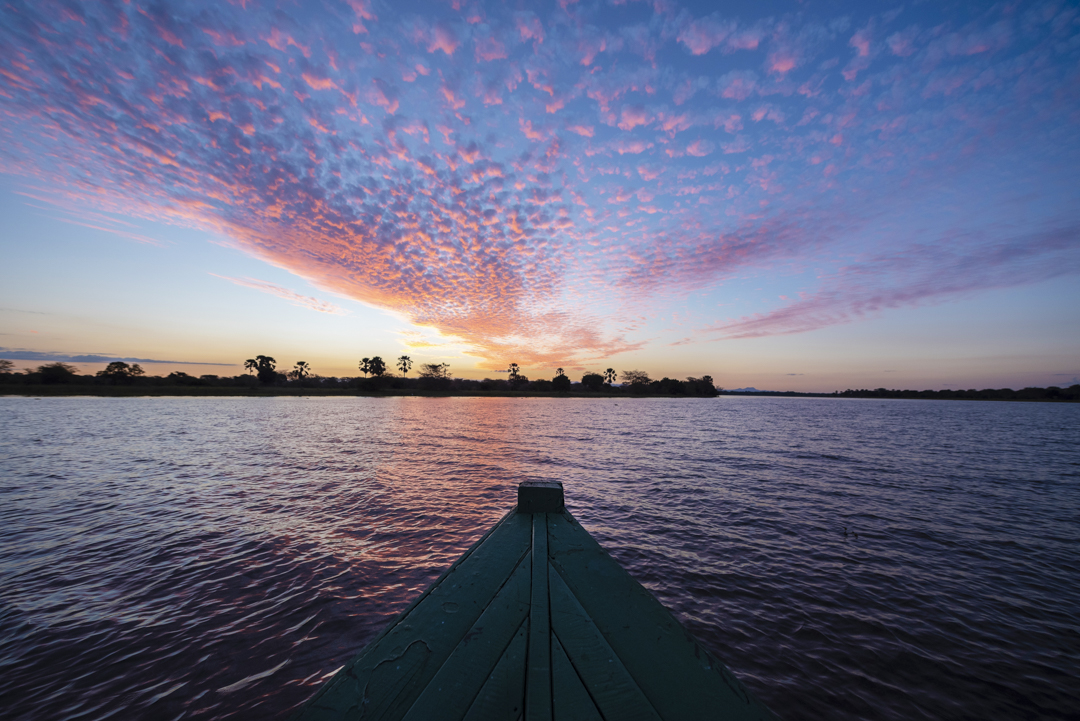
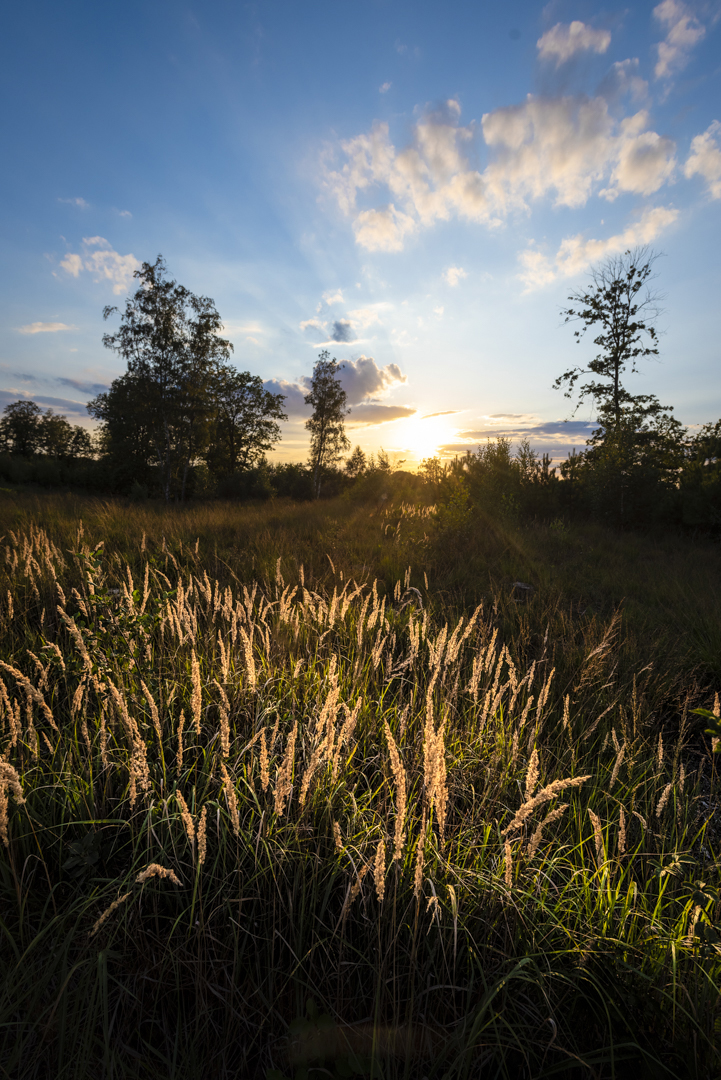
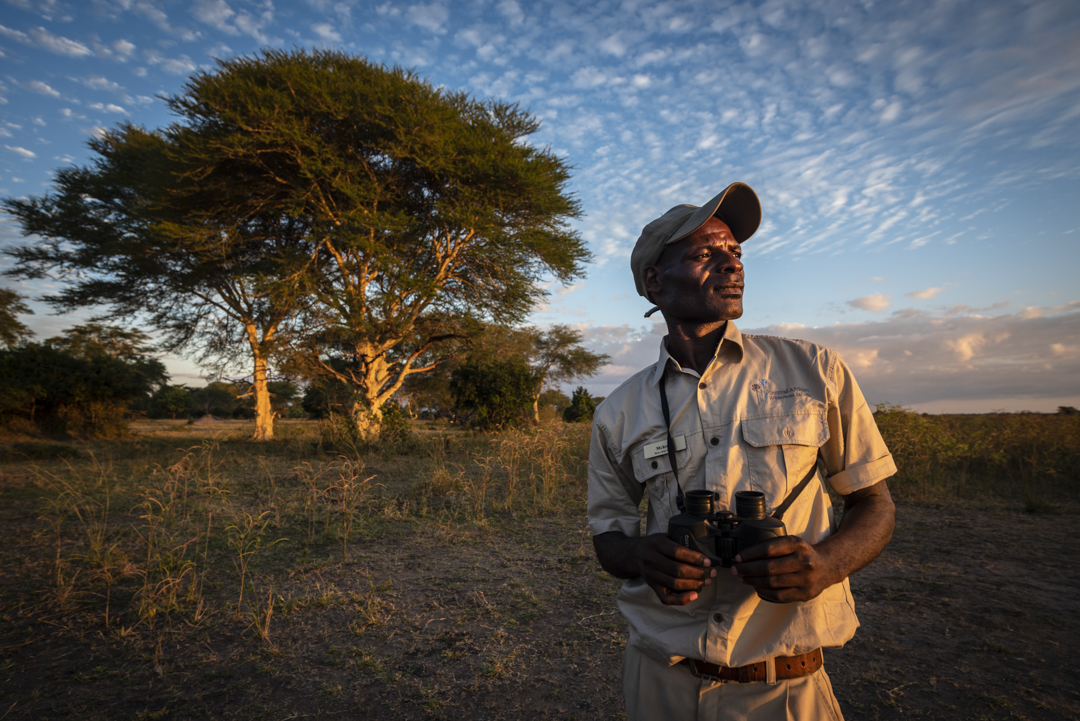
You can’t really change the way your model looks, but you can control the light on your pictures. The basic rule for travel photos is: the farther away from midday, the better the light. Every landscape photographer loves the blue hour. This is the hour before dusk or dawn. Since I’m way too much of a lazy bastard to get up before sunrise, I prefer evening light myself. It gives your images a warm, soft, almost unreal atmosphere. The light around noon – especially under a bright sun – is harsh, flat and ugly, and will suck all the drama out of your pics like that one divorced, drunk aunt on your sister’s wedding. Look at the picture of the grass straws in the sunlight. This could not have been made at 1 pm. The same goes for the portraits. The sun is also lower in the sky in the evening, which makes even you shadows more interesting.
8. Know your colour combinations
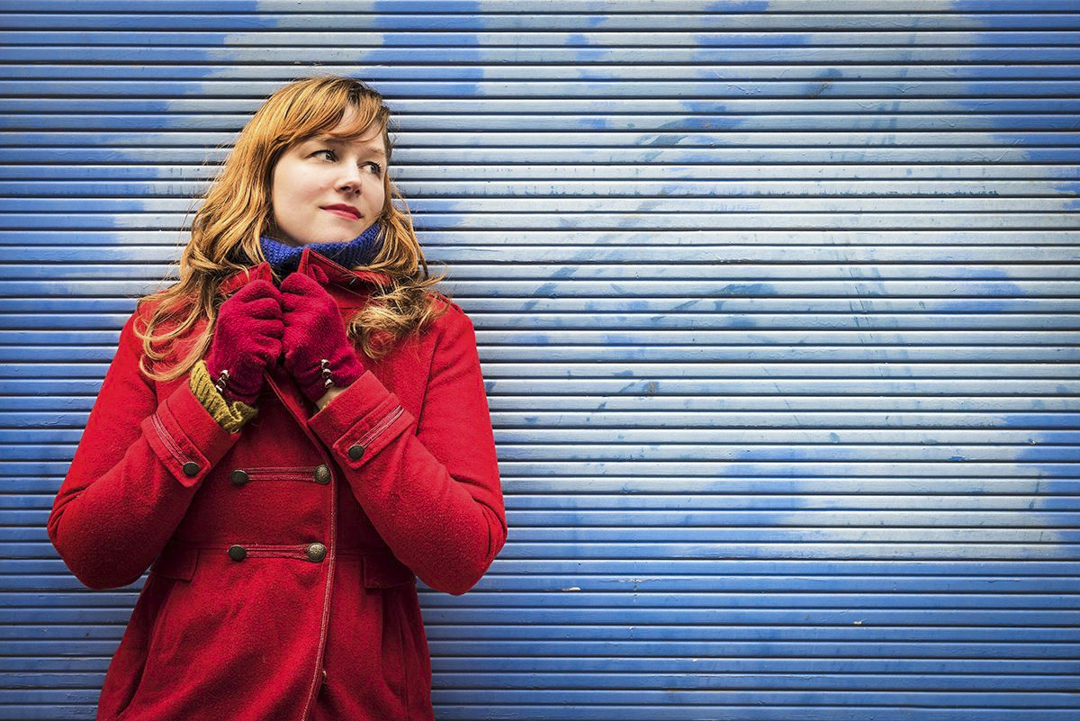
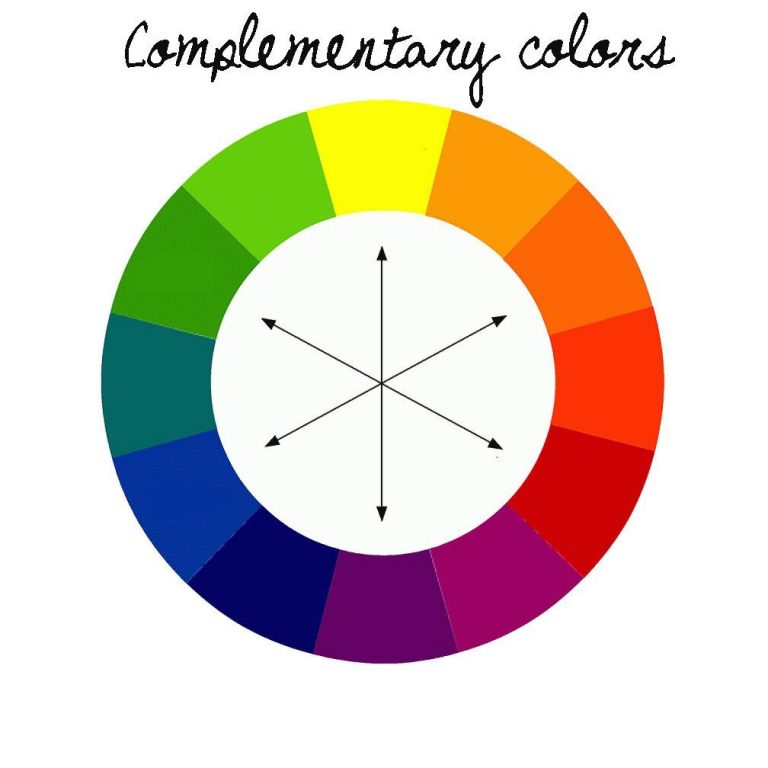
Colour can also be used to make your travel photos more powerful. The code word here is contrast. Combinations of warm and cold colours (reds and oranges versus blues) often make for striking pictures. Colours across from each other on the colour circle above are considered complementary, and make for powerful contrasts. The most common combinations are orange-blue, red-green and purple-yellow (try finding that one without staging it). Want to keep your images soft and soothing? Work with colour combinations that are near to each other on the circle instead. They will give your eyes some rest, but will have less striking contrasts. Yoga studios need pictures on the wall as well, you know.
9. Look at things from a different angle
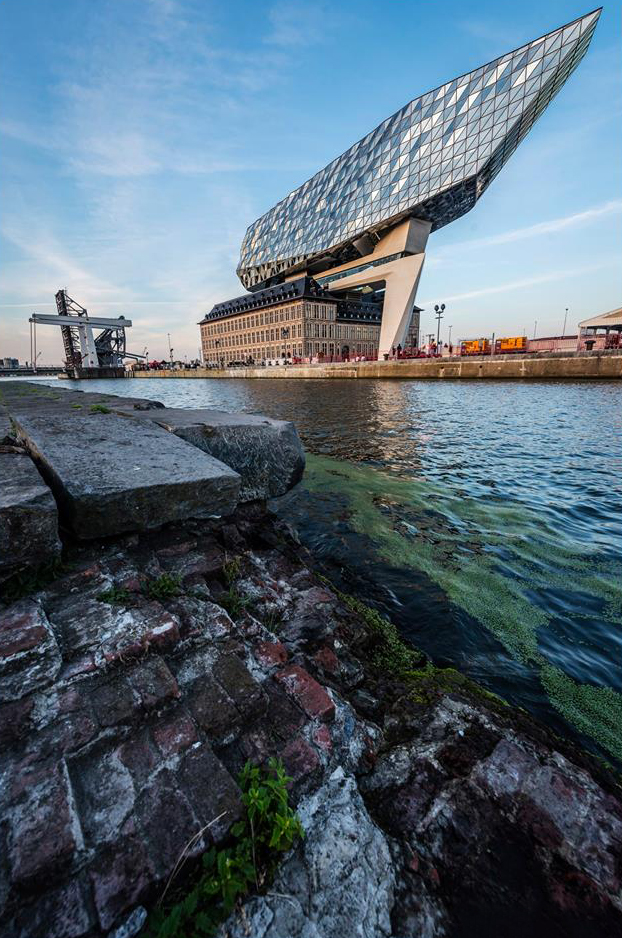
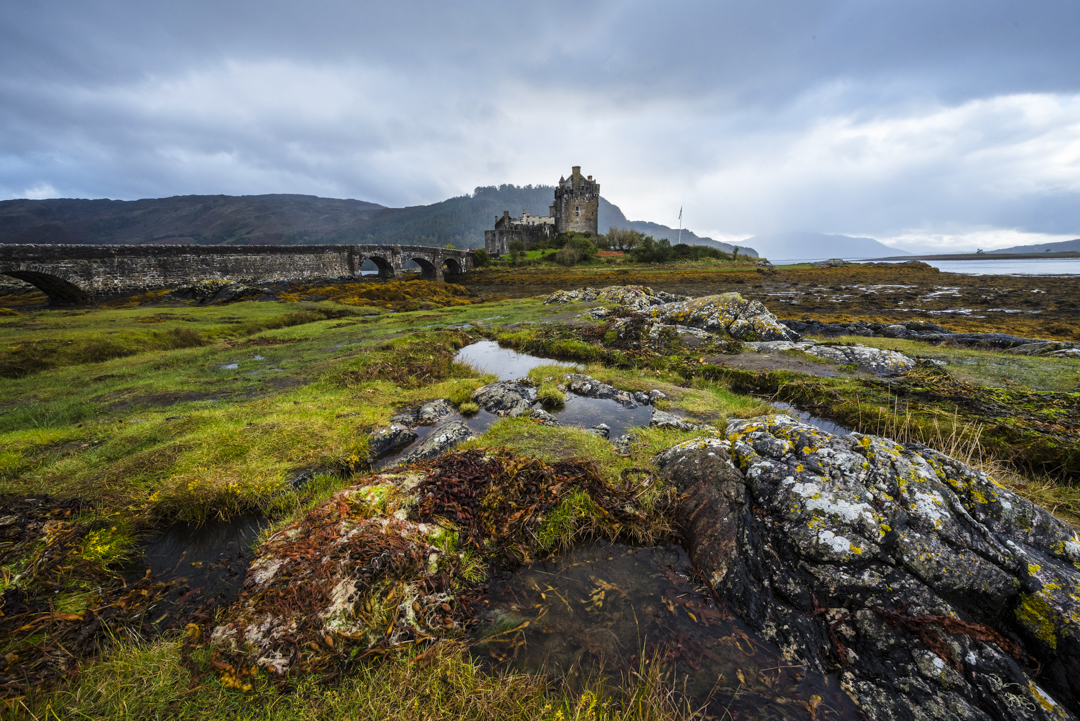
Some timeless monuments – the Taj Mahal, the Eiffel Tower and Pam Anderson’s big plastic tits – have been photographed so many times you’ll have to get very original to still surprise anyone with your pictures. If you want to capture things like these, don’t shoot them from the most common angle you see on every stupid postcard. Go for an original point of view, play with the lines in your image and try coming up with something new. It’s always better to make a technically less impressive picture that is original, than a technically sound one that is boring as fuck. Boring is the absolute worst thing you can be as an artist. Besides Nickelback of course, but they already exist so don’t worry.
10. Limit your selfies: no one cares
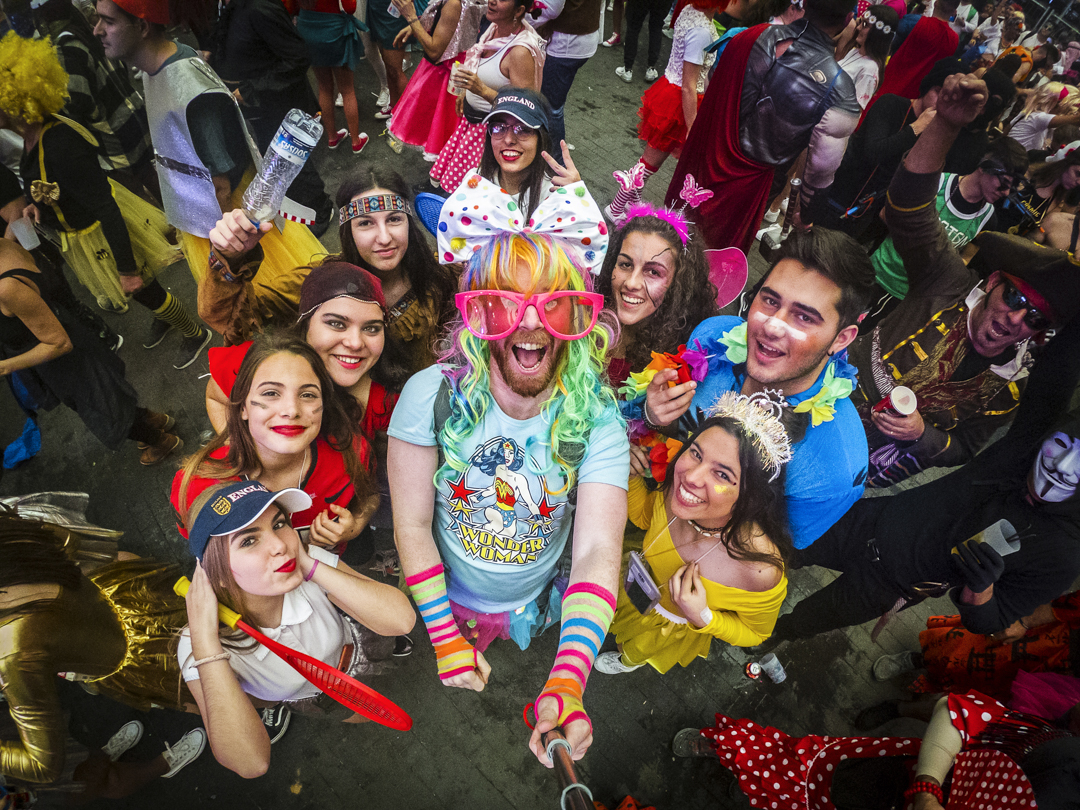
Let’s talk about selfies before we end this lesson. As a Golden God in the world of Belgian influencers myself, I am of course no stranger to putting my stupid face on an occasional picture. This said, I still get annoyed by travel bloggers flying all over the globe visiting amazing spots, just to then take 800 identical photos of themselves with the things you actually want to see hidden somewhere in the background. Want to be a travel photographer? Good, be one! But stop using your camera as a mirror. Should you never take a selfie then? Of course not! Did you just meet Obama, Elvis or a friendly rhino? Go ahead and take one to prove it! Are you just making dumb duckfaces in front of Table Mountain? Stop it, turn around, enjoy the view and take a picture of it (applying what you’ve learned today) so we can do the same. Can we agree on that?
*Selfies in bikini are of course always commendable
There you go: ten handy and simple tips to make better travel photos. Got any tips of your own to add? Did this help you as a beginner? Do you agree with my list as a professional? Any specific photography related questions you want to ask? Let me know in the comments below.
Want to start practising shooting travel photos in Belgium? Read my posts on the Port of Antwerp, Viroinval, Gaume and Mechelen. Want to travel a little further? Click my articles on Kenya, Hong Kong, Malawi, Aruba and New Delhi.



No Comments